
Learn to Make Cannabutter the Easy Way
If you’re looking to start a career in the cannabis industry let us help. Enroll in the Fremont University Cannabis course today by filling out the form on this page.
 If you have ever wanted to make marijuana baked goods using Cannabis you know how important Cannabutter is. For those who don’t want to do the work, you can simply purchase cannabutter from a vendor selling cannabis edibles and related products. For those who aren’t afraid to roll up their sleeves, you can simply make cannabutter from scratch in your very own kitchen. If you have marijuana at home, coming up with homemade cannabutter is the way to go.
Needless to say, this article will teach you how to make cannabutter. But it won’t just instruct you how to create it – it’s going to guide you through the process to come up with your butter in the most efficient way we know.
Without further delay, here are the very simple steps to take when making cannabutter from scratch:
Step #1: Heat to Nail It

You can’t just melt butter, sprinkle ground-up weed on it, and wait for the butter to solidify once again. That will simply not work. In order for marijuana to make you high when added to butter, which you can then use for making pot brownies or just about any other cannabis edible, you have to heat it up, and melt it first.
The process of heating up marijuana to have its THC content activated is called decarboxylation. Having a hard time reading or pronouncing it? Then simply go for decarb – that’s how many prefer to say it.
In order to get started, you need to preheat your oven to 115°C, which is equivalent to 240°F. While waiting for your oven to get pre-heated, ground up your stash of cannabis. Afterwards, spread all of it neatly in a baking tray that’s lined with parchment paper. Put the baking tray in the oven and bake for about 40 minutes.
Every now and then, shake the baking tray to ensure even cooking of the cannabis. Keep an eye on your tray. The goal is to make them dry and crumbly, not charred.
Once it looks like your marijuana is cooked to perfection, take the baking tray out of the oven and transfer to a wire rack. Allow to cool completely. Congrats – you just completed the process of deacarb. Now you can be certain that the THC content of your pot is completely activated.
Step #2: Melt and Mix
The minute that you are through with deacarbing your pot, it’s time to infuse butter with it. An important kitchen tool for this job is what’s called a double boiler. Wait, what’s that you say? You don’t have one lying around? Don’t panic! You can always come up with a makeshift double boiler with the use of a large saucepan and a small one with a long handle.
Get started by making sure that the small saucepan can easily fit into the large one. Fill about 2/3 of the large saucepan with water and bring it to a boil. While waiting for it to boil, prepare butter.
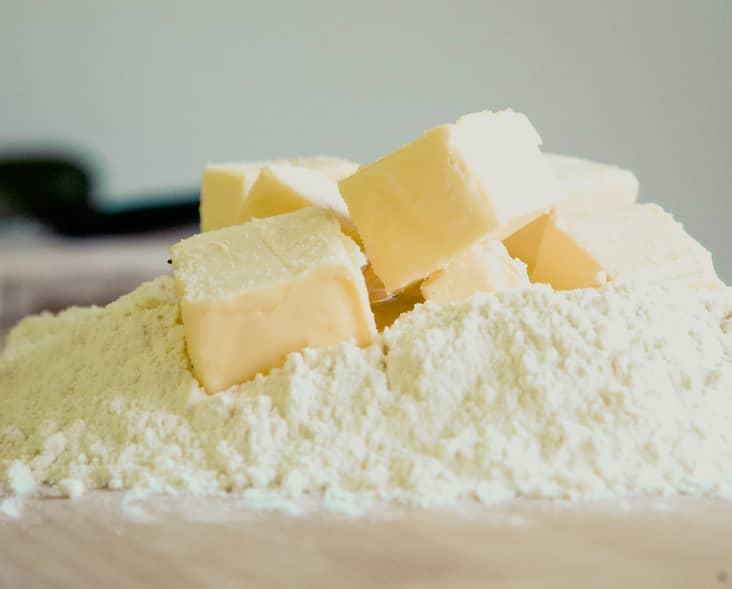
For every ounce of decarbed marijuana, you will need 4 sticks of unsalted butter. Do the math carefully – if you only have a quarter of an ounce of decarbed weed on hand, then you will only need to use 1 stick of unsalted butter.
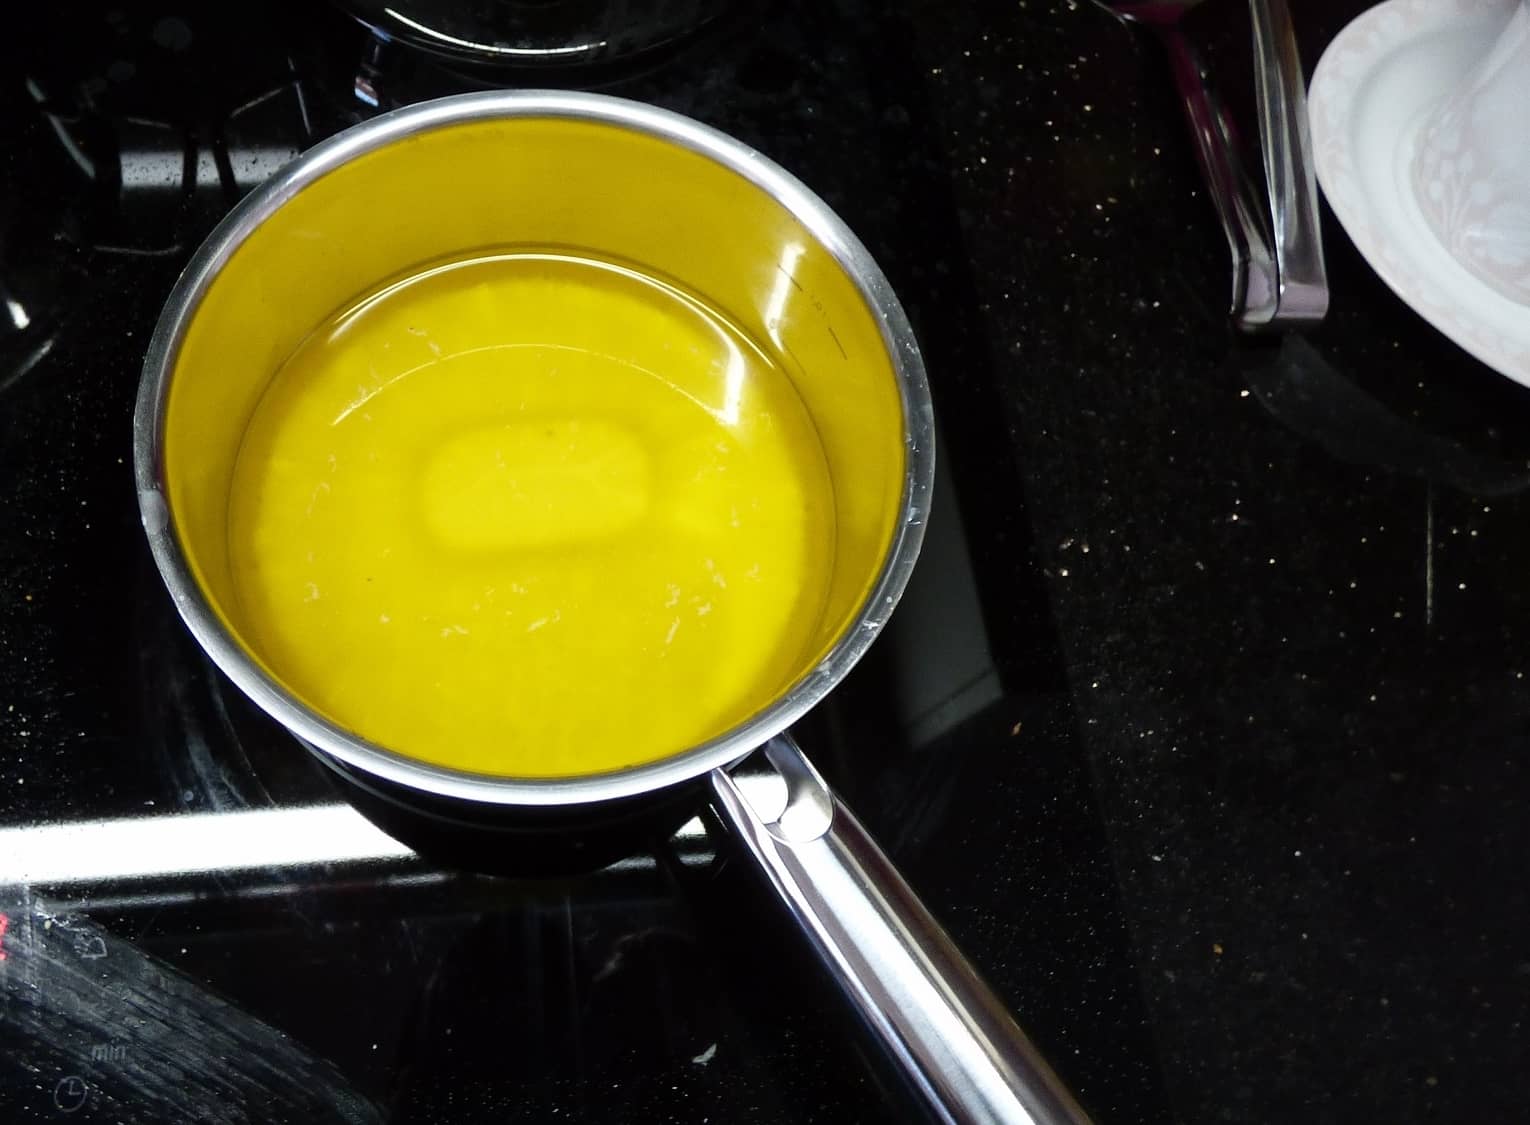
Place butter in the small sauce pan with a long handle. Once the water in the large saucepan is boiling, dip the bottom half of the small saucepan in boiling water and allow butter to melt slowly. Arm yourself with a wooden spoon and keep stirring butter as it melts to keep it from ending up burned.
Once all the butter is completely melted, turn the heat to low and add deacarbed weed. Allow it to simmer for about 40 minutes, remembering to stir the mixture on a regular basis. After 40 minutes, turn off the stove.
Step #3: Strain and Wait
If you’re already at this part of making cannabutter, then you are past some of the most challenging steps of the process. There is nothing left but to allow the butter you just melted and infused with ganja to solidify again. However, it’s important to remove the weed before that happens.
Grab a mason jar and use a rubber band to secure a piece of cheesecloth folded in half on its mouth. Before you place the rubber band, press the center of the cheesecloth to provide enough accommodation for melted butter and cannabis, keeping them from spilling to the sides as you pour the mixture into the jar.
Pour melted butter into the mason jar. Be very careful because that butter is scorching hot! It’s a good idea to perform this feat while you’re wearing a pair of oven mitts.
Once you have completely poured the contents of the saucepan into the jar, remove the rubber band and gather the sides and corners of the piece of cheesecloth. Squeeze out the remaining butter. Discard the cannabis afterwards.
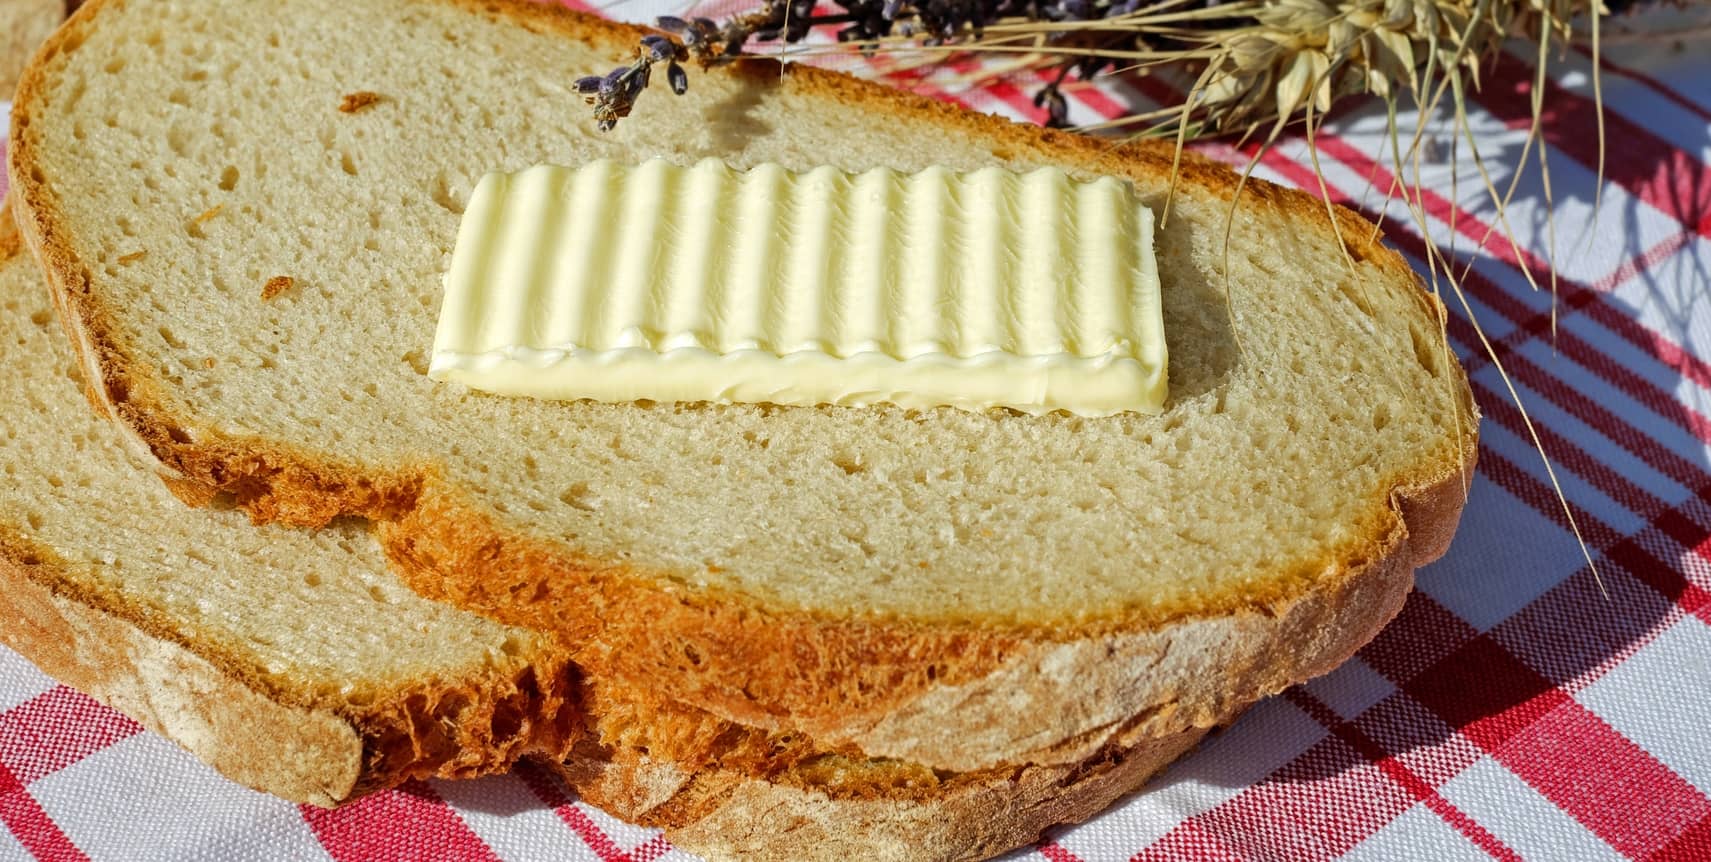
All that’s left to do is wait for the butter, which is now more aptly called cannabutter, to return to its solid state. If you want to spare yourself the hours of waiting for that to happen, you may simply stash the mason jar in the refrigerator. Once your homemade cannabutter is completely solid, you can start using it in any way you please!
You can spread some of it on toast or crackers, or you can use it for making marijuana brownies. Cannabutter made from scratch is the perfect ingredient for making an assortment of cannabis edibles.
Related Articles
Indoor Cannabis Growing Instructions
Outdoor Cannabis Growing Instructions
* In no way does Fremont University promise or guarantee employment or level of income/wages.